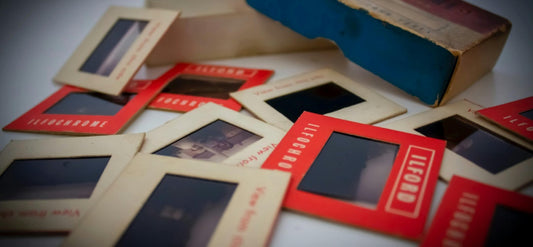
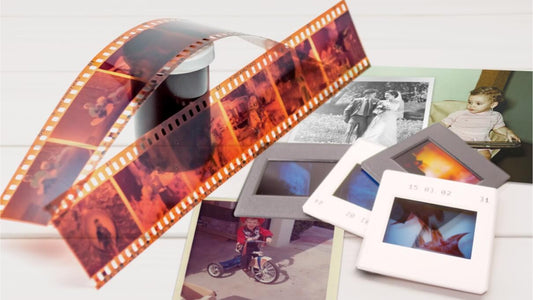
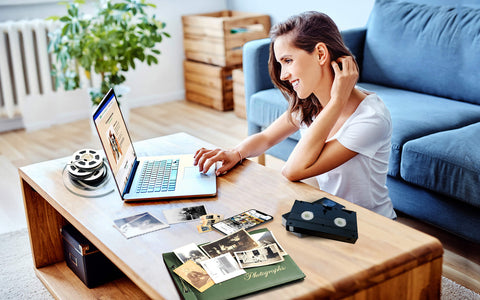
If you and your family have 35mm slides, they probably contain some of your most precious memories. However, they aren’t easy to share or enjoy, especially if you don’t have a projector. The good news is that you can DIY scan them into digital copies, creating images that will last forever.
Capture offers over 20 years of experience scanning and preserving photo slides, so we put together this guide to help you do exactly that. Using these easy DIY slide scanning methods you’ll ensure your old photos stand the test of time for future generations to enjoy.
Jump to:
- Understanding Slide Scanning
- Benefits of Scanning Slides
- DIY Slide Scanning
- Step-by-Step Guide to Scanning Slides at Home
- Tips and Tricks for Best Results
- Using Professional Services
Understanding Slide Scanning
Slide scanning is simply the process of scanning the image on a photo slide and turning it into a digital photograph. It’s very similar to the process of scanning photos but might require enlarging.

For the best results, you should also use a slide scanning machine. These are simply machines that are designed to pull the image of the slide in higher quality, turning it into a digital copy that you can then keep, edit, or share.
If you don’t know what to do with old slides, this is a great option with many benefits. So, what exactly are the benefits of slide scanning?
Benefits of Scanning Slides
One of the most important benefits of scanning photo slides is simply the preservation of memories. Photo slides might last years or even decades, but they will eventually degrade and fade into nothingness. On the other hand, digital copies will last forever in the same condition. They are susceptible to damage from heat, water, or light like the original slides.
But that’s not the only benefit. In addition, where old photos and slides can’t be easily shared, digital copies can be shared with loved ones around the world instantly using social media or email.
And you might be thinking, “Well, the benefit of slides is to use a carousel slide projector,” but there are digital projectors too, so you still get that advantage after turning them into digital format!
Scanned images also take up less space and are easier to organize than photographic slides. Organizing photos into folders is faster, easier, and more convenient. Plus, you can use photo editing software like Photoshop to combine, enhance, and edit digital photos with ease.

DIY Slide Scanning
Now that you see that there are plenty of benefits of converting old slides, how can you scan slides yourself? Follow these steps from getting the right equipment to scanning the slides and more.
Tools and Equipment Needed
Before you can convert 35mm slides to digital, you’ll need to get the right equipment. You have three different options: a flatbed scanner with a slide holder or adapter, a photo scanning app, or a dedicated slide scanner.
A flatbed scanner can produce exceptional quality but is also very time-consuming. The good news is that they can also easily work for print photos and Polaroid pictures as well, meaning an all-in-one tool for digitizing your photo collection. Just make sure you get the right version that’s compatible with your Mac or Microsoft computer.
One great option is the Nikon ES-2 negative and slide digitizer, but for professional results, you might have to spend nearly $350 on an Epson Perfection V600. If you have a lot of slides and photos to scan, this is one of the highest quality scanners you can get with incredible DPI resolution.
Another option is to use an app like Photomyne. While this is fast, easy, and convenient, it relies entirely on your Android smartphone or iPhone digital camera for quality. Because of that, it offers the lowest quality of all DIY slide scanning options. You’ll also need a backlight or slide viewer for good results.
Finally, the best option is to get a dedicated photo slide scanning machine or film scanner. These are options designed specifically for DIY slide scanning. One of the best options is the Kodak Slide N Scan with a DSLR camera. You can find it on Amazon, but it is a little expensive.
While it costs around $180, it will produce higher quality than other DIY scanning methods at around the same price (though not as good as professional scanning services like Capture). It’s also great for high-resolution scanning of Kodak Kodachrome slides.
In addition to the machine, you’ll want materials for cleaning slides, a computer for storage, and any editing software that you want to use if you plan on editing or enhancing the digital images.
Let Us Help You Preserve Your Slides
Skip the hassle of DIY—Capture offers fast, high-quality slide scanning with secure handling and multiple digital formats.
Digitize SlidesStep-by-Step Guide to Scanning Slides at Home
1. Preparing the Slides
Before you begin DIY slide scanning, use a microfiber cloth or air blower to remove dust and debris from the slides, otherwise that debris will impact image quality after the film scanning process. Additionally, organize your slides for easier digital archiving. A lot of people do so chronologically, but any way that you want to organize them is fine.
2. Setting Up the Scanner and Software
For this step, you’ll want to follow the instructions on the slide scanner option you chose. However, it generally involves installing the software, connecting the device to your scanner, and testing out a couple of scans before starting the main process.

3. Scanning Process
The how-to for scanning a 35mm slide to a PC DIY style includes scanning each slide individually for optimal quality. When choosing the resolution, aim for at least 2400 DPI. 4800+ will produce even better quality. Some options also offer color correction features that you’ll want to use, especially if the old slides are faded or discolored.
Another thing to keep in mind is the file type. JPEG is great for general and versatile use, but if you want higher-quality archiving then we recommend TIFF.
4. Post-Processing
After you finish the scanning process, you can crop and rotate the digital images as needed. Then, you can opt to use photo editing software to get rid of red eyes, combine photos, enhance quality, and make other changes.
When organizing your files, we recommend storing them on at least two devices, including cloud storage. That way, even if a device gets damaged, you still have the digital memories. You should also organize the files in a meaningful way whether chronologically, by loved ones, by events, or something else.
Tips and Tricks for Best Results
Here are some tips and tricks to get the best results for your DIY slide scanning process.
- Optimal Resolution and Settings: Use higher DPI for better quality but balance it with file size considerations. Higher DPI means a larger file and, depending on the machine, might also mean longer scanning processes.
- Cleaning Slides and Scanner for Clarity: Regularly clean both slides and the scanner glass to avoid dust and smudges. That way the digital images never have the debris captured.
- Organizing Scanned Files: Create a clear folder structure and use consistent naming conventions to manage your files efficiently. Otherwise, it will be almost impossible to find the pictures you want when it’s all said and done.

Using Professional Services Over DIY Slide Scanning
While DIY options are great, you might also want to consider using a professional photo scanning service to digitize your slide film.
Advantages of Professional Slide Scanning Services
A professional service will produce the highest quality scans. That means higher resolution, zero debris, and vibrant colors. Not only that, but it will save you plenty of time. Another benefit is that a bulk photo scanning service can usually scan all sorts of photos including scanning 35mm negatives, other film negatives, print photos, and more.
For example, with Capture’s slide scanning service, turning slides into digital is fast and hassle-free. Simply ship your slides to us, and we’ll scan them, then return both your original slides and digital copies within 30 days - guaranteed.
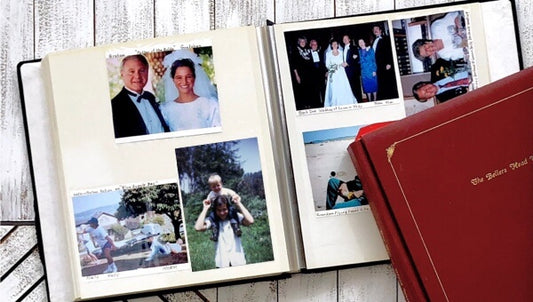
Plus, we offer the first-ever touchless photo album scanning service, which means we can scan each image in your photo albums without anyone ever having to remove them from the album sleeves.
How to Choose a Service
There are lots of slide scanning services available, so how do you pick the right one? Well, weigh the services of Legacybox vs Capture vs iMemories vs ScanCafe, and many other options.
Consider factors like cost, quality, and turnaround time. In addition, make sure they will take good care of your slides, monitoring them and ensuring they are never lost along with your priceless memories.
Finally, make sure you check customer reviews. While a service might promise tons of great benefits, customer reviews can tell you what people like you experienced when they used the service. If you notice regularly occurring issues, then you might want to go somewhere else.

Process of Using a Service
Whichever slide scanning service you choose, there are some things you’ll want to keep in mind. First, while many options will offer above-and-beyond services, you’ll still want to adequately prepare your slides with labels and organization.
Then, if you pick a reputable service, you’ll be updated about your order regularly. For example, you might get notices that your slides were received, that your order was started, and that it’s finished, and they are shipping the slides back to you. Some also offer access online via cloud storage, like Capture’s free 60-day backup.
When DIY Slide Scanning Isn’t Enough
Whether you choose home slide scanning or affordable slide scanning with a professional company, doing so will preserve your old slides as digital photos. That means your memories will last forever.
The main difference is that DIY slide scanning software is time-consuming and might not produce the highest quality while professional photo slide digitization produces exceptional results.
If you’re ready to preserve your slide memories with care and quality, Capture offers trusted slide and photo scanning services designed to protect what matters most.


