Want to make video from photos without feeling stuck? You're not alone. So many people today want to turn old memories into something fresh. At Capture, we understand how important it is to preserve those moments. Using photos to create a video is a perfect way to tell any story. It could be about a birthday, a trip, or even your favorite cat pictures. Best part? You don't even need to be a tech expert. You just need some good photos, the right tool, and a little time. Let's dive in and show you how to do it from start to finish without any confusion.
Jump to:
- Why Turn Photos into a Video?
- Step-by-Step Guide to Make a Video from Photos
- Choose the Best Photos for Your Video
- Pick the Right Tool or Software
- Upload and Organize Your Photos
- Add Transitions and Effects
- Insert Music or Voiceover
- Include Text and Captions
- Adjust Timing for a Natural Flow
- Export and Save Your Picture Video
- Share Your New Video
- Best Free Editing Apps
- Tips for Creating an Amazing Video
- Bring Your Photos to Life
Why Turn Photos into a Video?
Creating a video from your photos is one of the most meaningful ways to bring still memories to life. Whether you’re celebrating a birthday, honoring a loved one’s legacy, reliving a family vacation, or surprising someone with a thoughtful anniversary gift, photo videos add motion, music, and emotion to every memory. Instead of flipping through albums, you can experience a full story, something more personal, more powerful, and easier to share with everyone who matters.
Your Step-by-Step Guide to Make a Video from Photos
Choose Photos
Select a Tool
Upload & Organize
Add Transitions
Insert Music/Voice
Add Captions
Set Timing
Export Video
Share Your Story
Step 1: Choose the Best Photos for Your Video
Start by gathering all the photos you want. They could be in your phone, your computer, or even a shoebox somewhere. If you have old prints, consider reaching out to companies that digitize photos to bring them into digital form easily.
Once you collect them, organize them by event or theme. Maybe it's your last summer trip, your baby's first year, or your grandparents' anniversary. A clear story keeps people engaged. Also, try to use high-resolution photos - blurry or pixelated images can ruin a great video.
Step 2: Pick the Right Tool or Software
Simple options like Windows Photos, iMovie, or Google Photos are great if you're learning how to make a video from photos on iPhone or desktop. If you want more control, programs like Adobe Premiere Pro or Final Cut Pro offer advanced features. For easy online tools, check out Canva, Animoto, and Kapwing.
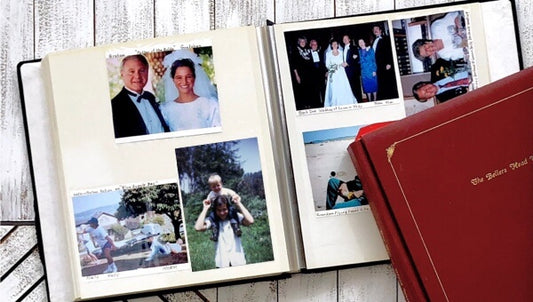
Starting from printed photos? You can digitize them first using a reliable photo album scanning service to get your images ready for video creation.
Step 3: Upload and Organize Your Photos
After choosing your tool, import your pictures. Most apps allow drag-and-drop uploads. Carefully arrange them in the order you want your story to unfold. If your beach photos show up before your road trip begins, it will confuse the viewers. Always double-check your photo sequence to keep the story clear.
Digitize Photos with Capture
Bring your printed memories into the digital world before creating your video! Capture makes it easy.
Digitize Your PhotosStep 4: Add Simple Transitions and Effects
Transitions make your video feel smooth and professional. Stick with simple fades, slide transitions, or soft zooms. Flashy effects can be distracting. Soft zooms work well for highlighting group photos or close-ups. Clean transitions keep the focus on your story, not the editing.
Step 5: Insert Music or Record a Voiceover
Music and voice make your video feel alive. Choose a song that matches your mood—upbeat for celebrations, soft for sentimental moments. Find royalty-free music to avoid copyright issues. Adding a voiceover telling short stories during photo changes makes it even more personal.
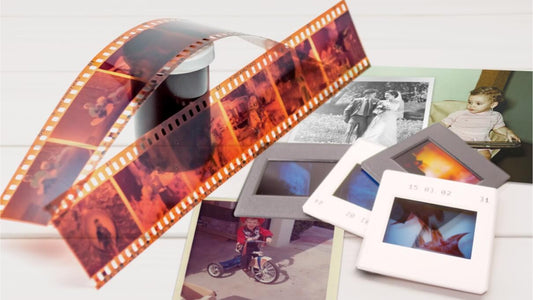
Need to add really old family pictures? Remember you can transfer negatives to digital first before using them.
Step 6: Include Text and Captions
Text helps guide your viewers through the story. Add simple captions like names, dates, or short quotes. Keep fonts clear, easy to read, and consistent. A well-placed caption can instantly explain the emotion behind a photo without distracting from it.
Step 7: Adjust the Timing for a Natural Flow
Timing matters more than you think. Usually, showing each photo for 3 to 5 seconds works best. If your video uses fast-paced music, speed up the transitions. For slow, emotional songs, let each photo linger. Syncing your photo changes with music beats adds a professional touch with little effort.
Step 8: Export and Save Your Picture Video
Export your final project carefully. Choose MP4 format—it’s compatible with nearly every device. Always select high quality when saving. Save a backup copy on your computer, cloud storage, or a USB drive to avoid losing your work.
Step 9: Share Your New Video with Family and Friends
Sharing your finished video is the best reward. Upload it to YouTube, Facebook, or Instagram. Email it directly to family members. Or create a digital album that future generations can access online. You can even burn it onto a DVD if you want a physical copy for your family archives.
Best Free Editing Apps to Make a Video with Pictures
Looking for free tools? Here are some great options for creating a video with images:
- iMovie (iPhone, Mac): Easy drag-and-drop editing.
- Google Photos: Create simple videos right from your gallery.
- Canva: Great for adding graphics and text.
- Kapwing: Online editing tool, no downloads needed.
- Clipchamp: Free Windows tool with templates and music options.
Tips for Creating an Amazing Picture Video
Follow these simple tips to make video with pictures that truly stands out and keeps your viewers engaged from start to finish:
- Use high-resolution photos for clear, vibrant videos.
- Keep your final video under five minutes to hold attention.
- Stick to one clear theme or event to avoid confusion.
- Match the music tone to the emotion of the photos.
- Preview your video before saving to catch any small mistakes.
Bring Your Photos to Life with a Video
Now you know exactly how to make video from photos without stress. You don't need fancy tools or years of editing experience. With just good photos, the right steps, and a little creativity, you can create a touching, fun, and memorable video. If you’re starting from printed memories, remember to convert photos to digital first, so nothing gets left behind. Follow these steps and your photo video will shine every time, whether it's a birthday, a family reunion, or just everyday smiles turned into something unforgettable!


