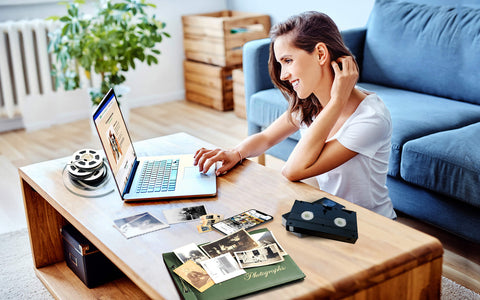
If you’re like many parents, back to school means you get (a little) time in your day to spend on projects you’ve wanted to tackle—like digitizing your memories.
We’ve broken the process—from start to done-and-sent-off-in-the-mail— into 5 bite-sized chunks. When you sign up for the 5 Day Back To School Digitizing Challenge, we’ll send you a short email each day to motivate and prompt you on that day’s goal. With just a bit of effort over one week, you can have your memories gathered, sorted, and sent off for digitizing.
Sound interesting? Ready to dive in? Sign up for Back To School Digitizing Challenge Emails.
Want to rope in a friend to join you? Just send them this link and sign up together!
Here’s the breakdown for the week:
Day 1: Gather your memories and choose your workspace
Look for a space with good lighting, ideally one with a large flat surface. Will you be able to leave your photos and other memories on it for a few days? That’s ideal. If not, come up with a plan for where you’ll put them between your working sessions. The more memories you have to sort, the more important this is.
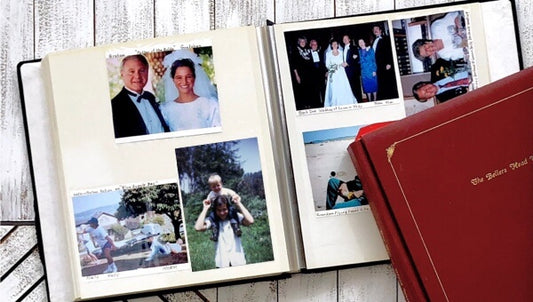
Next, collect your memories. If you’re like many of us, they’re likely in multiple places around the house. Set them in your workspace so you’re ready to dive into sorting tomorrow.
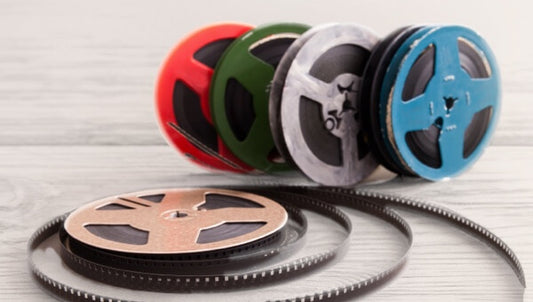
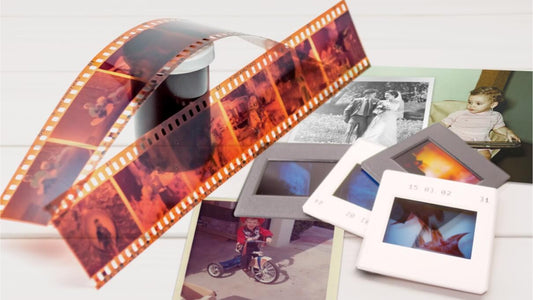
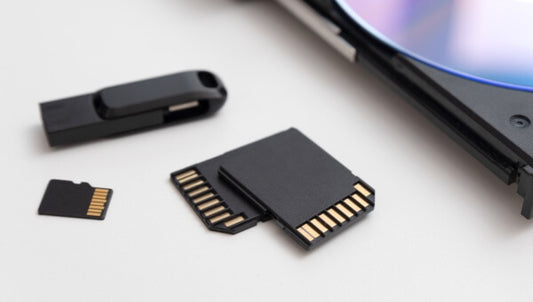
We have expertise in digitizing a myriad of types of media. See all of the types of media we digitize.
Day 2: Pre-sort
Take a few minutes and look at the memories you’ve gathered. How many are there? How familiar are you with what you have? Doing a quick assessment will help you start to think about how you want to sort them. There are oodles of ways to approach it. We suggest starting simple.
If you have photos that span multiple centuries, you might want to first start by sorting them into two “century” piles.
Then, you can quickly sort by events—birthdays, weddings, holidays, vacations, etc. For those memories that aren’t attached to an event, you can sort by person or family. You may want to then sort each type of event or person/family pile chronologically. Don’t worry about being too precise. The goal is to be efficient and let yourself enjoy your walk down memory lane.
Pro tips:
put those in your “To Digitize” pile.
of the lens, or you just don’t want to keep, put those in a Discard pile.

Create your order
There are two easy ways to get started.
Custom Order
Most people do a Custom Order. You use your own packaging, with the option to take advantage of a prepaid shipping label. You will be charged by the item–with no limit to the number you can send. Simply send your box to us when you are ready. See pricing and details.
Time Capsule Box
Our Time Capsule Box is an easy-ship kit that includes everything needed to get started. Some customers love the simplicity. It also makes a thoughtful gift for someone else you’d love to encourage. See pricing and find out more.
Day 3: Dive in deeper (and enjoy spending time with your memories)
Continue sorting. The goal today is to really get a good first pass through everything. The truly fun part about this is that you get to actually spend time with your memories, something many of us think we’ll do from time-to-time, but often don’t get to actually doing.
Pro tip: Keeping a magnifying glass handy can help. It’s critical if you are sorting slides or negatives. It can also help you see details that will help you approximate dates on photographs.
Day 4: Finish sorting and put your memories into their long-term spot
As you’re sorting, you’ve likely been thinking about where you’ll store the physical memories you’ve decided to keep. You may have identified that it’d be helpful to have more boxes, or different-sized boxes, than you do. You may want to label or record notes about your memories. Hint: writing on the back of a photograph is not the best option. Using the right tools is important. So important, in fact, that the New York Times has compiled an article to walk you through expert suggestions for longer-term preservation.
Anywhere that’s dirty, dusty, damp, has extreme temperature changes, or direct sunlight accelerates damage to photos, videotapes, CDs, and DVDs. Typical storage spots like garages and attics are often far from ideal. If it’s a spot you as a human find comfortable, it’s potentially a good spot for your memories too. See more tips and guidance on storing your physical memories.
Day 5: Put your box in the mail and celebrate!
Yeehaw! You did it! After you’ve gotten your order on its way to us, it’s time to celebrate a job well done! Digitizing is a great way to protect precious memories. It’s something many of us want to do, and even intend to do, but life gets busy and it’s easy to put it off–and off and off. If a friend joined you in the Challenge, consider getting together and taking a few minutes to celebrate your efforts together.
Sit back and relax, knowing that our expert digitizers are working hard on your memories. You can expect your completed order back about 4 weeks from the time we receive your media. In it will be your originals and any USB or DVD you ordered. You’ll also receive an email with a link to view your memories online.
Want to find out more? Ready to get started? Have questions? There’s nothing we like more than talking about how to help you protect and preserve your memories.


