Everything You Need To Know About How To Digitize Super 8 Film

Everything You Need To Know About How To Digitize Super 8 Film

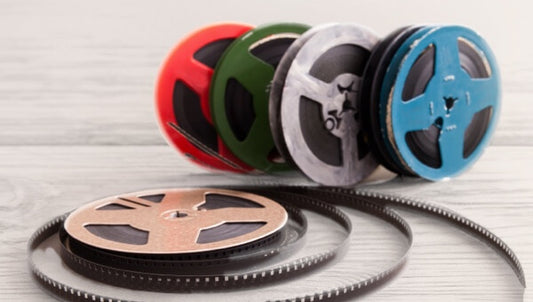
Super 8 film was the preferred way to capture old home movies in the 1960s and 1970s. While it was replaced by videotapes in the 80s and 90s, those old film reels still contain memories that are in danger of being lost forever as the film ages. 

As a leading digitization service for over 20 years, Capture wants to make sure you have all the information you need to know how to digitize Super 8 film to preserve the family memories for future generations. 

Keep reading to learn everything about digitizing Super 8 including the equipment you’ll need, how to prepare the film, and step-by-step guides for 2 DIY methods. 

Jump to:


    Understanding Super 8 Film

    Super 8 film was introduced in 1965 as a higher quality and easier-to-use cartridge version of 8mm film. Plus, it offered a soundtrack that meant you could record home movies complete with sound. Because of these advantages, the Super 8 film format was extremely popular and is still used by filmmakers and nostalgic families.

    However, there are some limitations when compared to modern digital video formats. First, it’s much harder to share large film reels than it is to send digital files over social media or email. Plus, you’ll need a movie film projector to view them at all. 

    Finally, over time Super 8 film can degrade, fade, lose color, and become damaged by moisture, sunlight, temperature, and other elements. Because of this, it’s important to digitize your film memories while you still can. That doesn’t mean you can’t still keep the cool Super 8 film, but it also ensures your precious memories last forever. 

    Equipment and Materials Needed

    To digitize your old analog film format, you will need a few items depending on the method you choose.  For either method, you’ll need Super 8 reels and film cleaning supplies. You can find film cleaners and even splicing kits online on Amazon or other specialty stores. 

    Again, if you choose either method but want to combine footage, enhance the color or quality, or create any other edits, you will also need a computer or laptop and video editing software like MovieMaker. This is optional and you can still preserve your film without it but will help you create high-quality digital copies. 

    This is where the materials and equipment differ. For the first method that uses a film projector, you’ll need a film projector to display your home movies as well as a digital camera or smartphone to convert Super 8 into digital format

    The second film conversion method uses a dedicated film scanner to digitize film frame-by-frame for easy storage on a hard drive or memory card. There are several options to choose from including the Kodak REELS machine that uses an 8.08 Megapixel sensor for clear color and high-definition digital video. It’s available for $399.99 on Amazon and has a 3.9-star rating. 

    Another option is the Wolverine 8mm and Super 8 Film Reel Converter. While it’s cheaper it can only convert 3 and 5 inch Super 8 film reels. Still, it has a 4.2-star rating and will add mp4 file versions of your 8mm videos to SD cards for easy sharing and transfer to your Mac or Windows PC, thumb drives, or cloud storage. 

    There are other options as well, so make sure that you do your research to make sure it will work for your reels and that you get a film scanner that isn’t too difficult to use, produces high-quality digital videos, and works with your budget and time. 

    Preparing the Super 8 Film

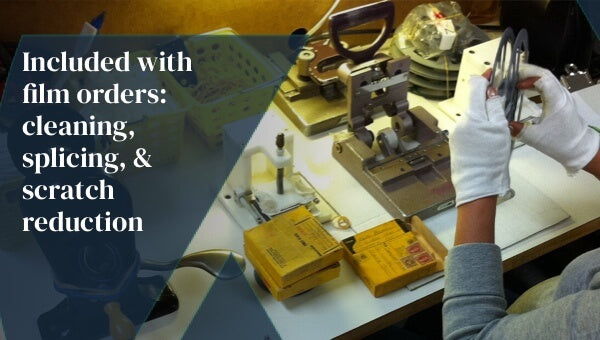
    To get the highest possible quality out of your film transfer, you will need to inspect the film for damage, deterioration, and tears. Digital conversion will pick up all imperfections, so you need to start by cleaning the film to remove dust and debris.

    This process isn’t difficult, but you do need to be careful not to damage your Super 8mm reels. You can use compressed air to blow dust off the surface and use a microfiber cloth to clear away any remaining residue. If necessary, use a very small amount of 98% Isopropyl rubbing alcohol to clean smudges or spots. 

    If there are torn or severely damaged portions of your Super 8 film, then you may have to remove them and splice the two ends together. You can use Scotch tape, but there are also certain types of cement and papers with sprocket holes that work best. The goal is to make the section between the playback portions as small as possible. 

    Choosing the Right Method for Digitization

    When choosing between the two DIY Super 8 film to digital options, there are a couple of considerations. The film projector method might be significantly cheaper, especially if you already have a digital camera and a projector. However, since you are taking a video of a projection, the quality will not be as high as it will be with a film scanner

    Film scanners typically have decent quality but will usually put your memories onto an SD card. This adds another step to transfer to a hard drive or computer. Additionally, many of these machines cost $250 or more. 

    Here are step-by-step guides for both options to make learning how to digitize Super 8 film as easy as possible for you! 

    Film projector method: Step-by-step guide

    What you’ll need:

      • Super 8 film reels
      • Cleaning materials
      • Super 8 film projector 
      • Screen or wall 
      • Digital camera 
      • Memory card (for transfer to computer)
      • Tripod (optional)
      • Editing software (optional)

    1. Setting up the film projector and film

    After inspecting, cleaning, and repairing your film as needed based on the instruction above, you can set up your film projector. Make the projector as level as possible and adjust it accordingly to create a projected image that’s clear, but the right size for your camera to capture. 

    2. Setting up digital camera

    Since you will be digitizing at normal playback speed, you will need to setup your smartphone camera or digital video camera so that it will remain stable, level, and capture the entire screen. We highly suggest using a tripod to ensure clear and still digitization. 

    It’s also smart to capture a few seconds first and watch the digital copy before going through the entire film. This allows you to check for sound, lighting, blurriness, and other fixable issues. 

    3. Recording and transferring 

    Once you set up your projector and digital camera, you simply play the home movies and record them. Then, you can save them onto a memory card to transfer onto your computer. From there, you’ll have digital downloads that you can share over email, social media, or with a flash drive. You’ll also be able to add them to cloud storage or edit them using computer software. 

    Film scanner method: Step-by-step guide

    What you’ll need:

    • Super 8 film reels
    • Cleaning materials
    • Super 8 film scanner
    • Memory card or adapter (for transfer to computer)
    • Editing software (optional)
    1. Set-up film scanner and loading film reels

    While this step will differ depending on the type of film scanner you checkout with, you’ll typically need to either use an adapter to plug into your computer or insert a memory card.  Then, you’ll have to load the Super 8 film reels onto the scanner in the same way you would load them onto a projector. 

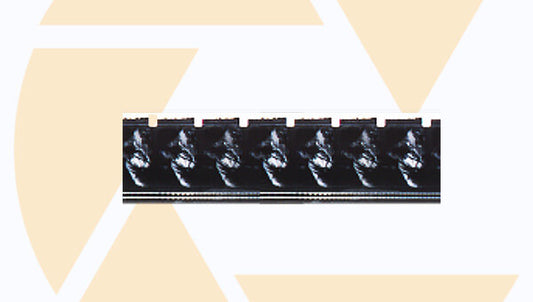
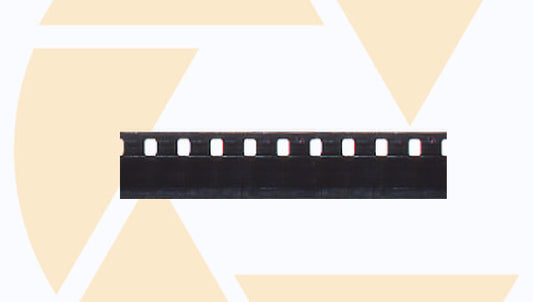
    This involves lining up the sprocket holes, threading the film through the leaders, and ensuring the right tightness. For many film scanner options, this will also involve testing the film using the built-in screen.

    2. Scanning the film frame by frame

    Now,  you can start scanning the film frame by frame using the instructions for the film scanner. The film will go through the machine as it scans and convert Super 8 to digital format. We recommend keeping your eye on the machine throughout this process just in case of a jam, error, or other problem. 

    3. Saving the scanned images or video files to a computer

    Now, using either an adapter or a memory card, you can transfer the digital files to your computer. Then, you can start sharing, editing, and enjoying your Super 8 home movies while preserving them for future generations. 

    Enhancing and Editing the Digitized Footage

    Regardless of which method you choose, you can enhance and edit your digitized footage after film transfer. This requires video editing software like iMovie, MovieMaker, Adobe Premier Pro, or other options. 

    These programs allow you to improve video quality by adjusting brightness and contrast, enhancing color vividness, and even combining multiple footage seamlessly together. Additionally, you can remove scratches, dust, glares, and other imperfections, which is especially important if you used the first method to convert your Super 8 film

    Another cool thing you can use these software options for is to add titles, captions, organizational tags, and even music to your home movies. This can improve the viewing experience and create heirlooms that can be passed down and cherished by family members for years to come. 

    While they may take some time to get used to and some programs are more complex than others, you can usually find tutorial videos online or simply follow the instructions for the specific software you choose. 

    Storing and Organizing Digitized Super 8 Films

    While digitizing preserves your home movies, you also need to make sure you’ll be able to find specific moments when you want to enjoy them. The first step to organizing your digitized Super 8 films is to choose a file format. Mp4 files are the most popular, but there are also MOV, WMV, AVI, and more.

    You will also need to decide where you want to keep all your files. We recommend storing them on the cloud. That way, if anything happens to your computer or hard drive, you don’t lose your memories. However, we also recommend having backups so that there are always two copies for extra security. 

    Finally, you will want to decide how you want them organized. You can organize by folders based on year, event, person, place, or anything else. You can also add tags and metadata so that you can easily search and find specific relevant memories. This creates and organizes the digital archive of your entire legacy. 

    Sharing and Enjoying Digitized Super 8 Films

    One of the best benefits of digital videos is the ability to enjoy and share them on any device, anywhere, anytime. You can upload your digital videos to social media, send them to loves ones over email, create personalized DVDs, create digital album keepsakes, and much more. 

    In addition, you can host private screenings online or in-person for friends and family members to reminisce over special memories and loved ones. You can combine Super 8 footage with home movies from VHS tapes, other films, and even slideshow videos. This is also perfect for weddings, funerals, and celebrations. 

    Conclusion

    As you can see, there isn’t a single way for how to digitize Super 8 film. You can use a projector and digital camera to capture your Super 8 movies in digital format or buy a film scanner that converts them frame by frame. Either way will preserve your memories as digital copies, but the first option is cheaper, and the second method is higher quality. 

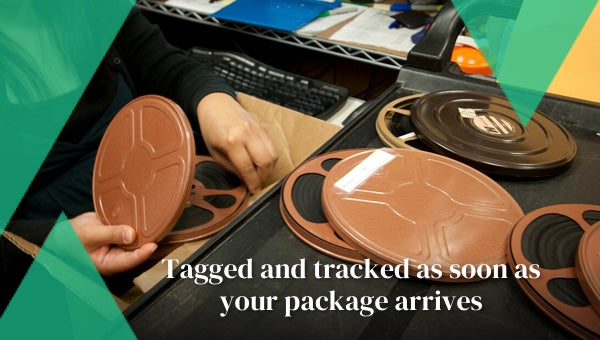
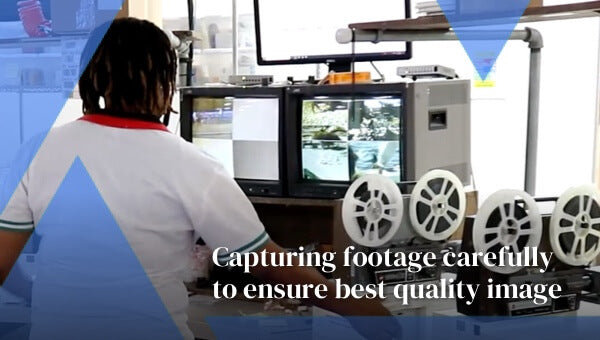
    There’s a third option that we haven’t mentioned: using a professional film transfer service like Capture. We’ll ensure safety of your memories using a state-of-the-art tracking and security system while we preserve your memories as the highest possible quality digital files. Click here to learn more about Capture’s film transfer service

    Back to blog
    1 of 3

    Preserve Your Memories Forever

    Photo Album Scanning Service

    Photo Album Scanning Service

    We scan the photos directly from the album pages, without...

    Regular price

    $29.99

    Professional Digital Scanning Service

    Professional Digital Scanning Service

    We digitize images and videos saved on obsolete devices like...

    Regular price

    $29.99

    Premium Film Transfer Service

    Premium Film Transfer Service

    We digitize film reels to the latest digital formats for...

    Regular price

    $29.99

    Premium Photo Digitization Service

    Premium Photo Digitization Service

    We digitize print photos, slides, and negatives, and convert them...

    Regular price

    $29.99

    Premium Video Conversion Service

    Premium Video Conversion Service

    We digitize videotapes to the latest digital formats for you...

    Regular price

    $29.99