100% Satisfaction Guaranteed
We stand behind the quality of our work and offer a 100% satisfaction guarantee for every order. If you're not happy with the results, we'll start over and make it right—no runaround, just responsive, U.S.-based support.


 Guaranteed Results
 State-of-the-Art Security
 Fastest Turnaround
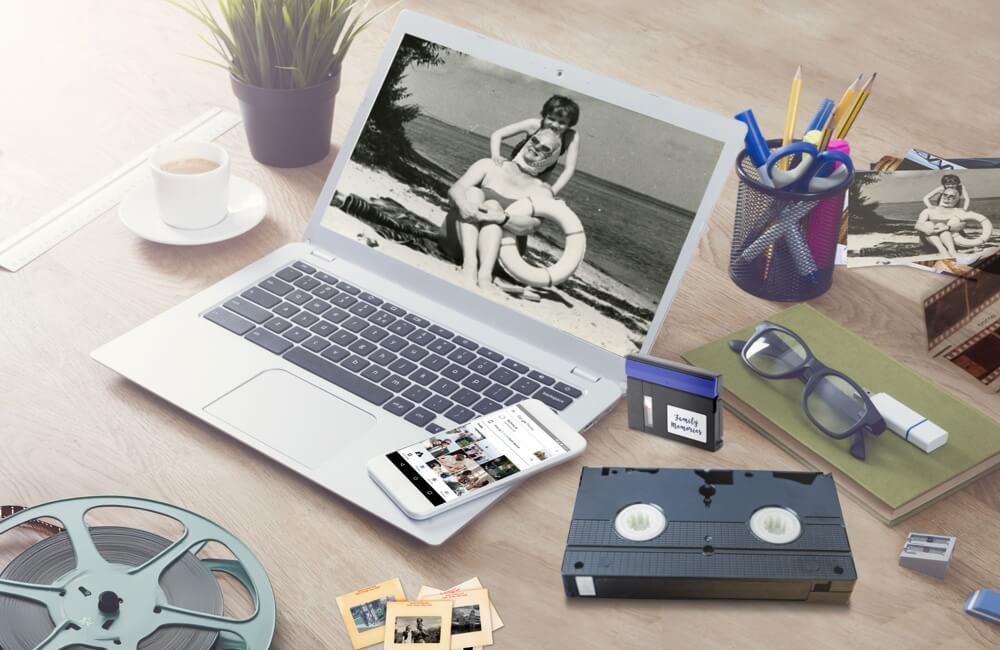
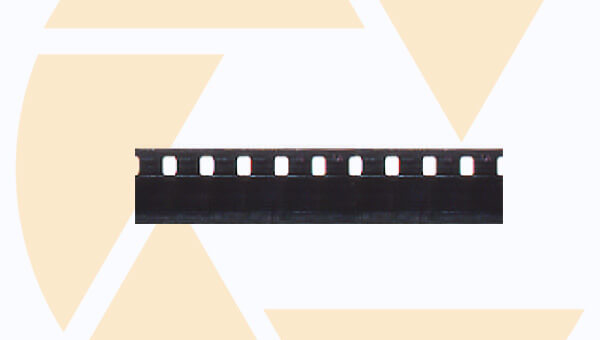
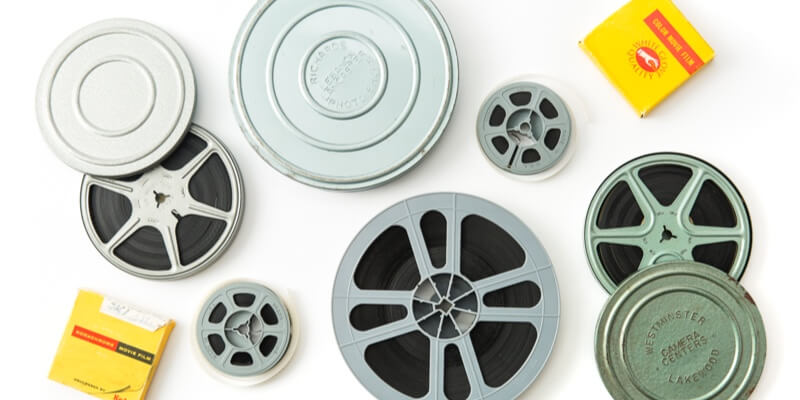
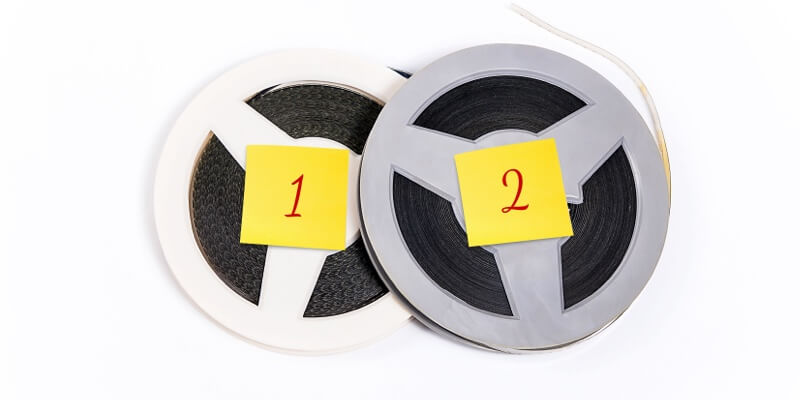
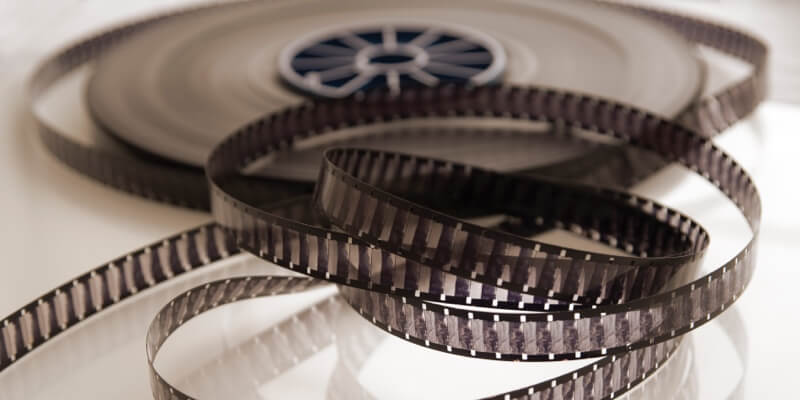
8mm film is a motion picture format introduced by Kodak in the 1930s as an affordable option for home movies. The film is 8 millimeters wide and comes in several varieties, with most reels being silent though some have a magnetic audio band.
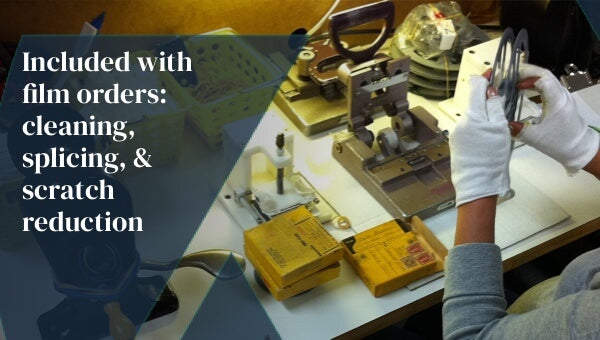
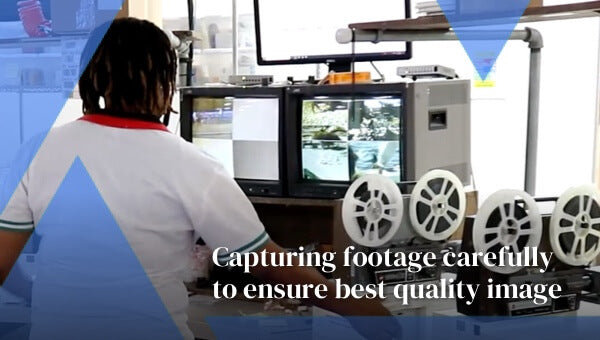
Many people ask how we digitize film reels. The short answer is that we use a semi-automated process with professional, industrial-grade equipment—not something you can easily replicate with a device or software at home. This ensures high-quality results and allows us to handle even large orders on time.
The process is semi-automated because the first step involves our team manually inspecting and, when needed, repairing issues like broken ribbons.
Our digitization services go beyond just transferring footage. We offer advanced color enhancement and scratch reduction for improved visual quality. For enhanced content, we use AI-driven techniques to automatically create short reels and action shot highlights, so you can easily share the best moments without spending hours editing.
To ensure your digital copies are of the best quality, we offer a 100% satisfaction guarantee.
If for any reason you are not satisfied with the outcome of your order, we will happily reprocess it for you at no cost, within 60 days.
We can help with any questions you may have or give you step-by-step instructions on how to start your order.
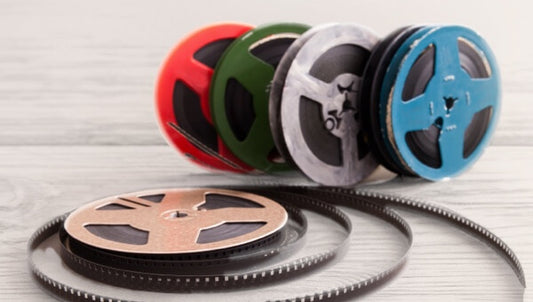
Chat With Us3" Film Reel
|50 feet
4" Film Reel
|100 feet
5" Film Reel
|200 feet
6" Film Reel
|300 feet
7" Film Reel
|400 feet
8" Film Reel
|600 feet
10" Film Reel
|800 feet
USB for the Entire Order
Enhanced Content
DVD for Film


Pricing is based on the amount of video content successfully processed.
Capture can digitize 8mm film starting at $34.98 for the first 100 feet of Super 8 or 8mm film.
Then, we charge only 30 cents for each additional foot after the original 100 feet.
This affordable price also includes cleaning, splicing, enhanced colors, and scratch reduction as needed.
Upgrade to Enhanced Content for $9.98

Get a USB Combo Drive of your entire order for just $18.98, and there's no need to purchase additional USBs for more content like photo prints or videotapes unless you want extra copies. View your content on any desktop or mobile device.
Upgrade to Enhanced Content for $9.98
Our DVDs are priced at $8.98 per transfer, regardless of the length of footage. To get additional copies for sharing, simply add multiple DVD orders above.


We stand behind the quality of our work and offer a 100% satisfaction guarantee for every order. If you're not happy with the results, we'll start over and make it right—no runaround, just responsive, U.S.-based support.
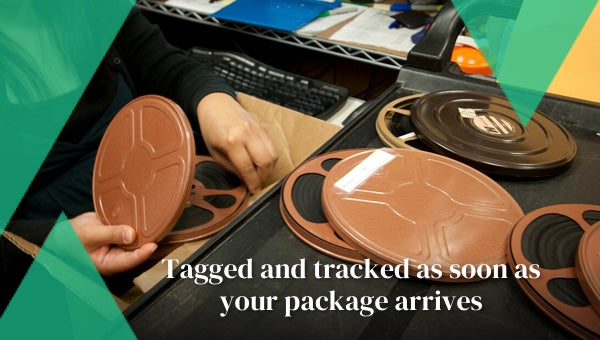
We know exactly where every piece of media is, through which hand, in which box, every step of the way.

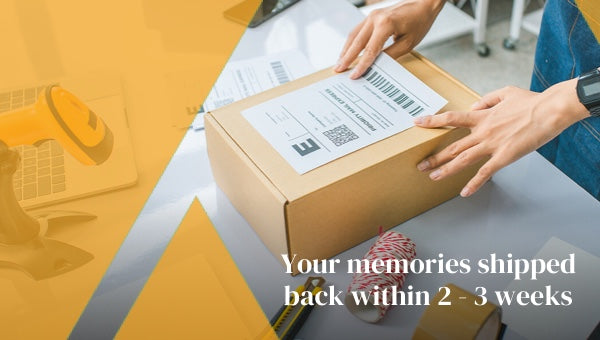
Receive your cherished digital copy in less than 30 days including shipping time (as opposed to the industry standard of 10 to 12 weeks), without extra charges or fees.

Exclusive partnerships with major brands like Costco, Walmart, Google Photos, CVS, and Sam’s Club.

We are constantly innovating with our cutting-edge technology and seamless cloud account integration, engineered and supported entirely by our U.S.-based team.

API integration to allow automatic transfer to your library. We also help iCloud users to upload media to their accounts.

Our secure Memory Cloud storage system guarantees only customers have access to their memories.
We offer a complimentary 90-day backup of your digitized media, giving you extra peace of mind.

Know your original format home movies are in good hands because we take the utmost care while creating the highest quality digital replicas guaranteed to last a lifetime.

We repair and clean your original media when we digitize videotapes. We can fix damage including broken cases, mild ribbon damage, and clean mold off of a videotape.
Film transfers are captured at 720 x 480 pixels. Our guaranteed service includes original audio, cleaning, splicing, enhanced colors, and scratch reduction as needed.
Digitize 8mm Film in less than 30 days in only 3 steps:
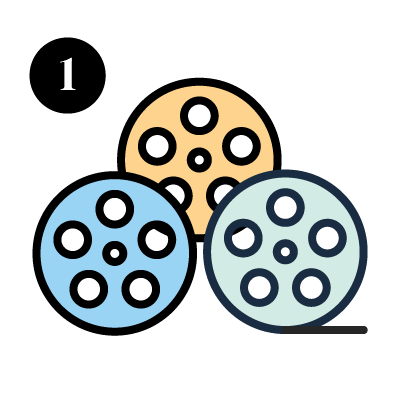 Create your order. Then, gather your film reels and any additional information you want to provide.
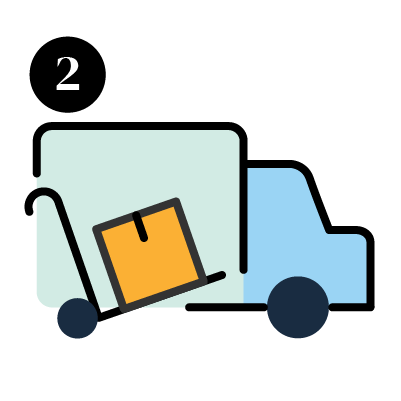 Prepare your media to be shipped by packing it safely. You can add a pre-paid shipping label to your order or use your own shipping option to mail your media.
 After we assess your items, you will review an invoice. Once you approve it, we'll begin digitizing your memories. Within 4 weeks, you'll receive high-quality digital versions of your film reels along with your originals.
Your memories are in good hands because we take every precaution to ensure every moment is safe.
We provide 24/7 monitoring, advanced tracking, and state-of-the-art security to protect your memories from the moment they arrive until they are shipped back to you.
You can check the processing status throughout the entire transfer with regular email notifications, so you know your precious memories are in good hands.
Plus, our friendly customer service experts are here to help if you have any questions.

Every memory processed by our video conversion service is safeguarded with a 90-day back-up stored in your complimentary MemoryCloud account.
We use secure cloud storage to ensure only you have access to your memories.
Let us know what we're digitizing, so we can accurately title and organize your files.
Providing the date of your film reels allows us to put them in chronological order for easy future viewing.
Label your film reels before sending them to us to make organizing your memories a breeze.
Click “Tell us about your memories” area to provide any personal details you want us to include in the digital copies, such as titles, years, and places.
We offer the option to auto-save digital files to your Google Photos Library for easy organization by location and time on your smartphone, tablet, or other device.
Plus, our film conversion option comes with smart chapters, highlight videos, and personalized titles and themes for your enjoyment and organization.
All orders include a Digital Download in MemoryCloud, which is best suited for viewing on computers, smartphones, or iPads/tablets, providing easy access without the need for physical media.
You then have the option to add on a physical output:
There are many reasons to use an 8 mm digital conversion service, including:
8mm film reels will wear out over time. Transferring them into digital files with cloud storage will ensure your home movies are preserved for future generations.
By converting 8mm film, you can protect your memories from floods, fires, theft, or natural disasters.
By converting 8mm to DVD, digital download, or USB thumb drive, you can easily rename, archive, and add additional information to your old home movies.
8mm film takes up much more space than DVDs, USB flash drives, or digital files that you can store on your computer, hard drive, or in the cloud using iCloud, Google Photos, or Dropbox.
As reel-to-reel projectors become more and more obsolete, it’s important to convert your 8mm film into a digital format so that future loved ones can cherish your movie reels.
By converting 8mm to digital, you can ensure that all your friends, family, and loved ones can enjoy your old home movies without fighting over a single physical copy.
Using a digital file format, you can easily share your old film with anyone in the world instantly.
Using platforms like Google Photos, you can take advantage of search, archive, and reminder tools.
After digitizing your old films, you can use digital video editing software to improve the quality of old films or even create new and high-definition memories by combining old footage with new using a digital moviemaker tool.
Prices start at $29.98 for the first 100 feet and only $0.25 per foot after that.
However, since most people don't know how much film they have, we'll assess the reels and only charge you the exact amount.We might be biased, but we believe that Capture is the best, because of our quality splicing, scratch reduction, fastest turnaround time, and top-notch customer service.
Here is a detailed article comparing top film to digital service providers, including how we measure up and where we can improve.
Need some help starting the process? We can help with a Free Instant Quote! Learn More >
Convert Your Old Film to Digital Copies, USB, DVD & More! We can digitize 16mm film, 8mm film and Super...
Convert Your Old Film to Digital Copies, USB, DVD & More! We can digitize 16mm film, 8mm film and Super...
Regular price
Convert Your Old 16mm Film to Digital Copies, USB, DVD & More! We price our 16mm film to digital services...
Convert Your Old 16mm Film to Digital Copies, USB, DVD & More! We price our 16mm film to digital services...
Regular price
We digitize videotapes to the latest digital formats for you to share with others.
We digitize videotapes to the latest digital formats for you to share with others.
Regular price